First Burn First: Mastering Candle Care Essentials
Morlinka Candle Care Manual
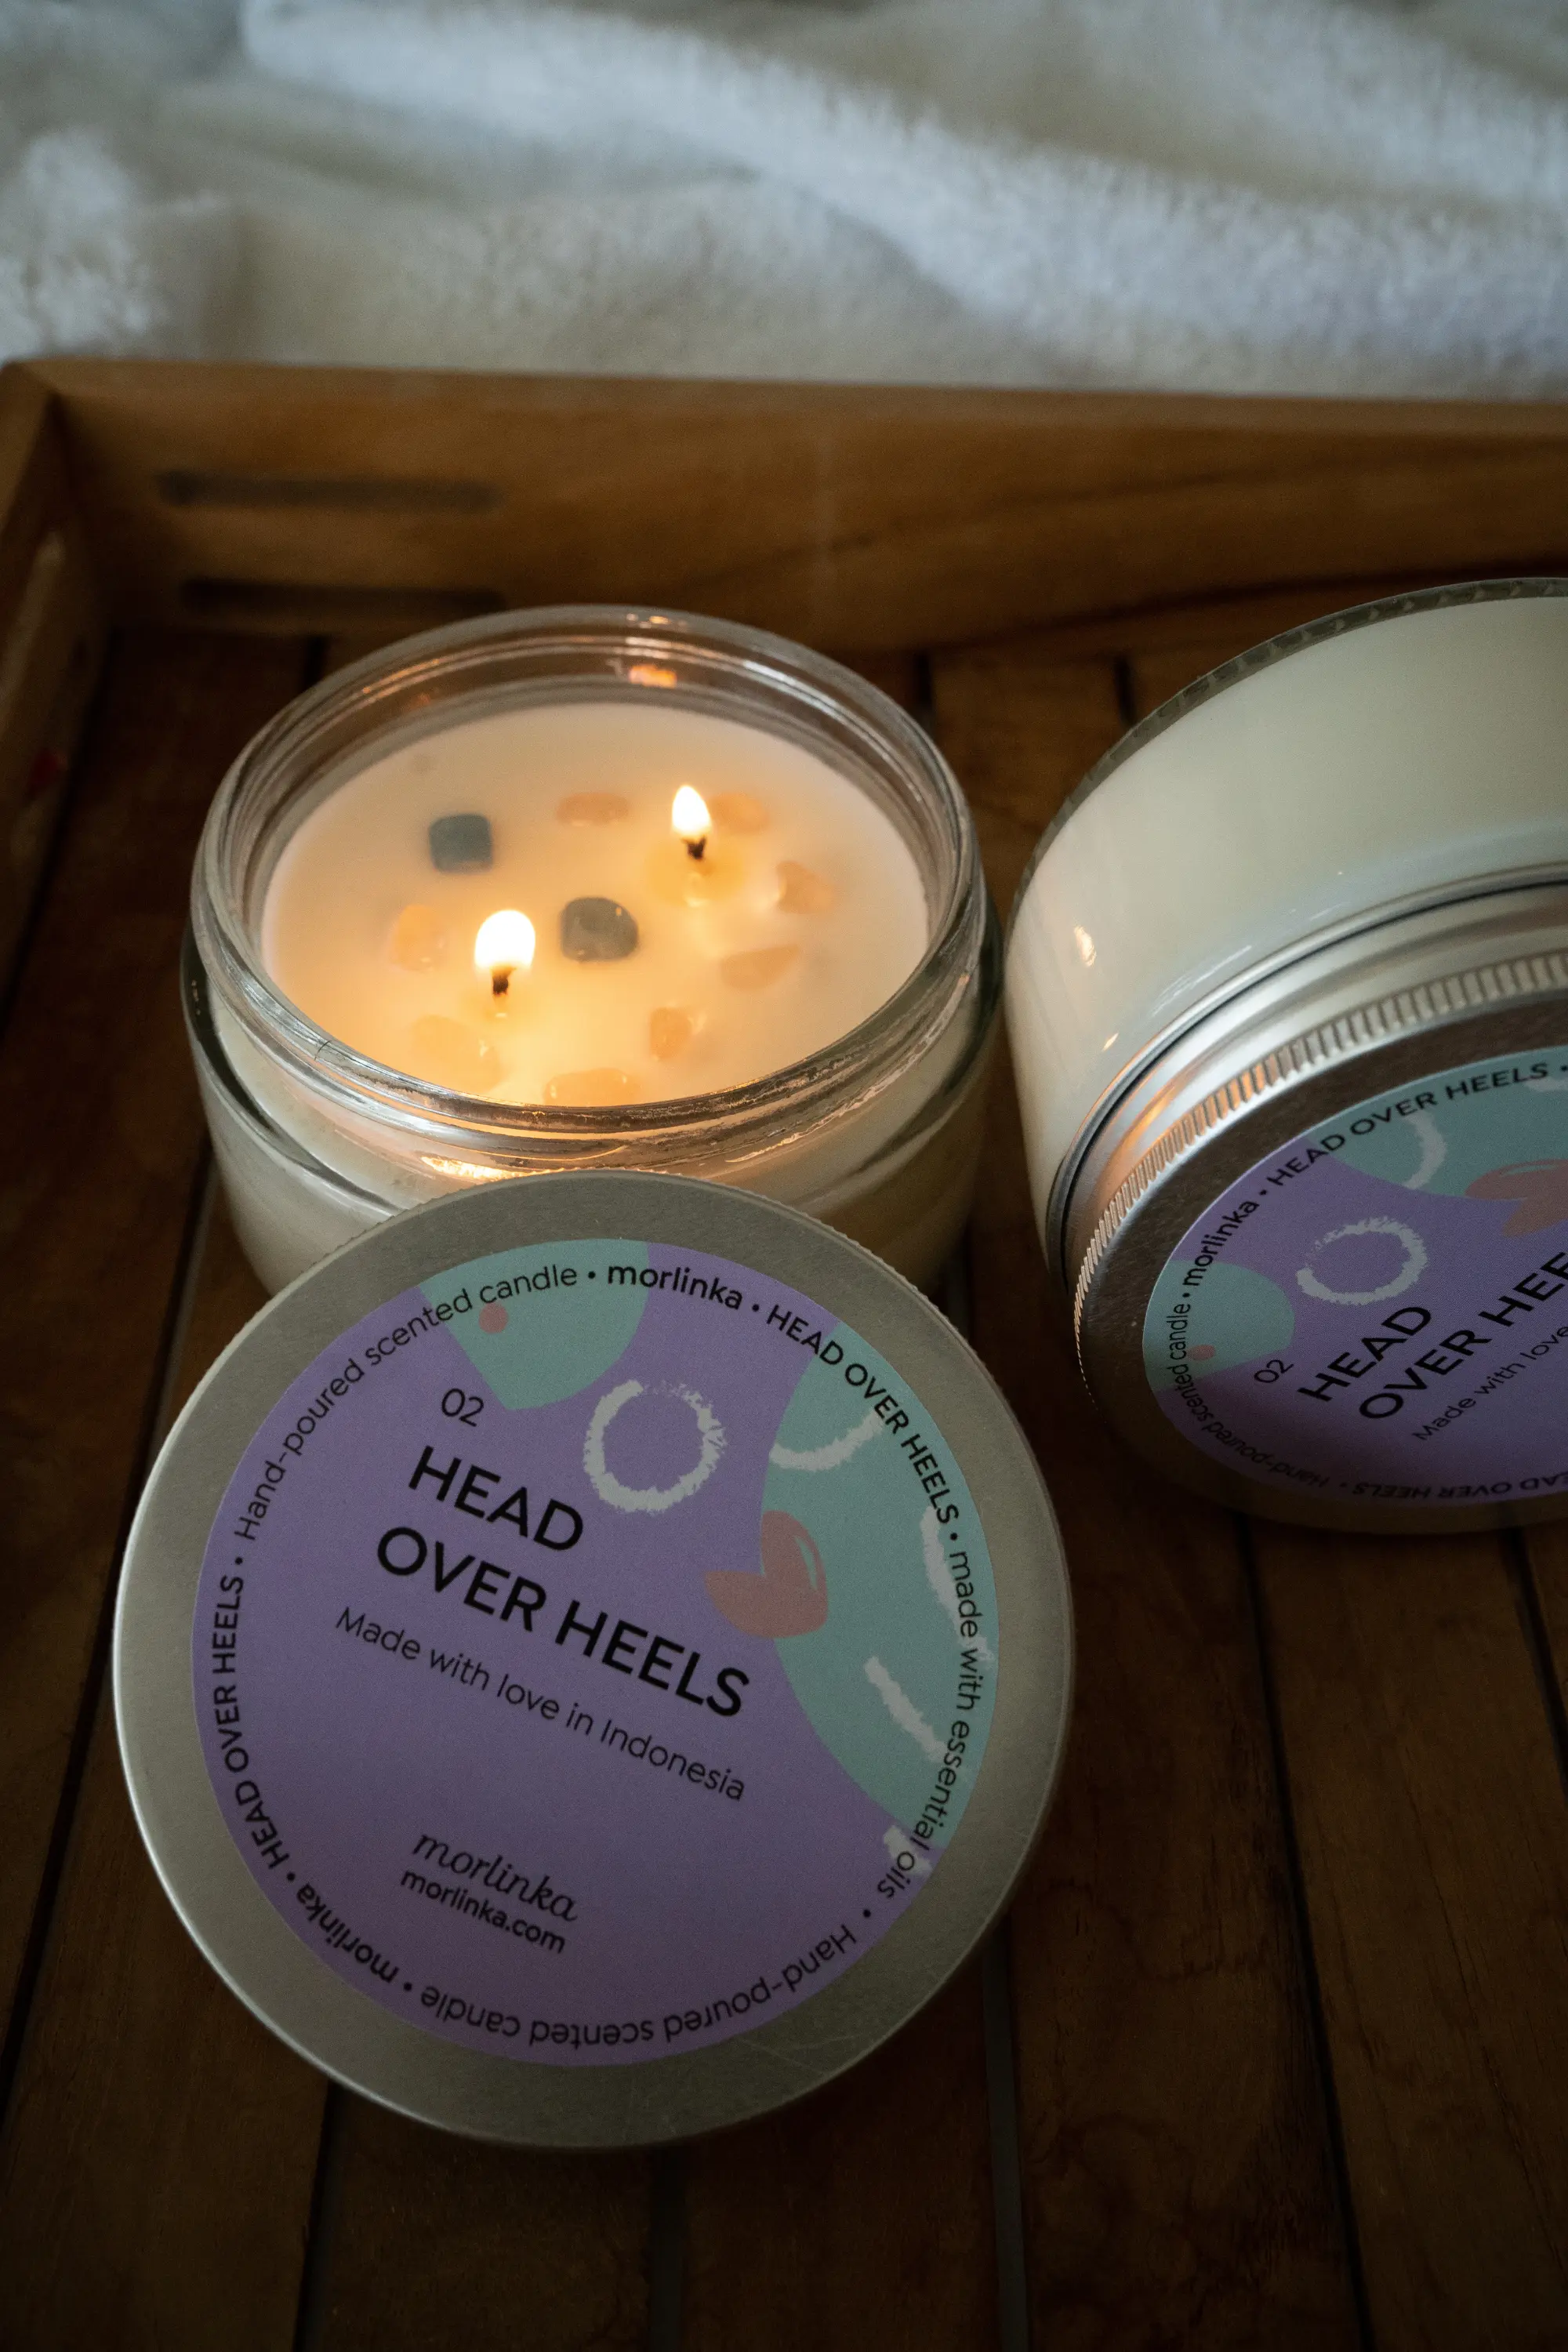
We all love lighting our Morlinka crystal candles as part of our self-care routine, but do you know that to get the longest, cleanest, and safest burn out of your Morlinka candles, proper care and maintenance are essential? Follow this routine, and you can save your candle’s lifespan and maximise its fragrance.
Before Lighting
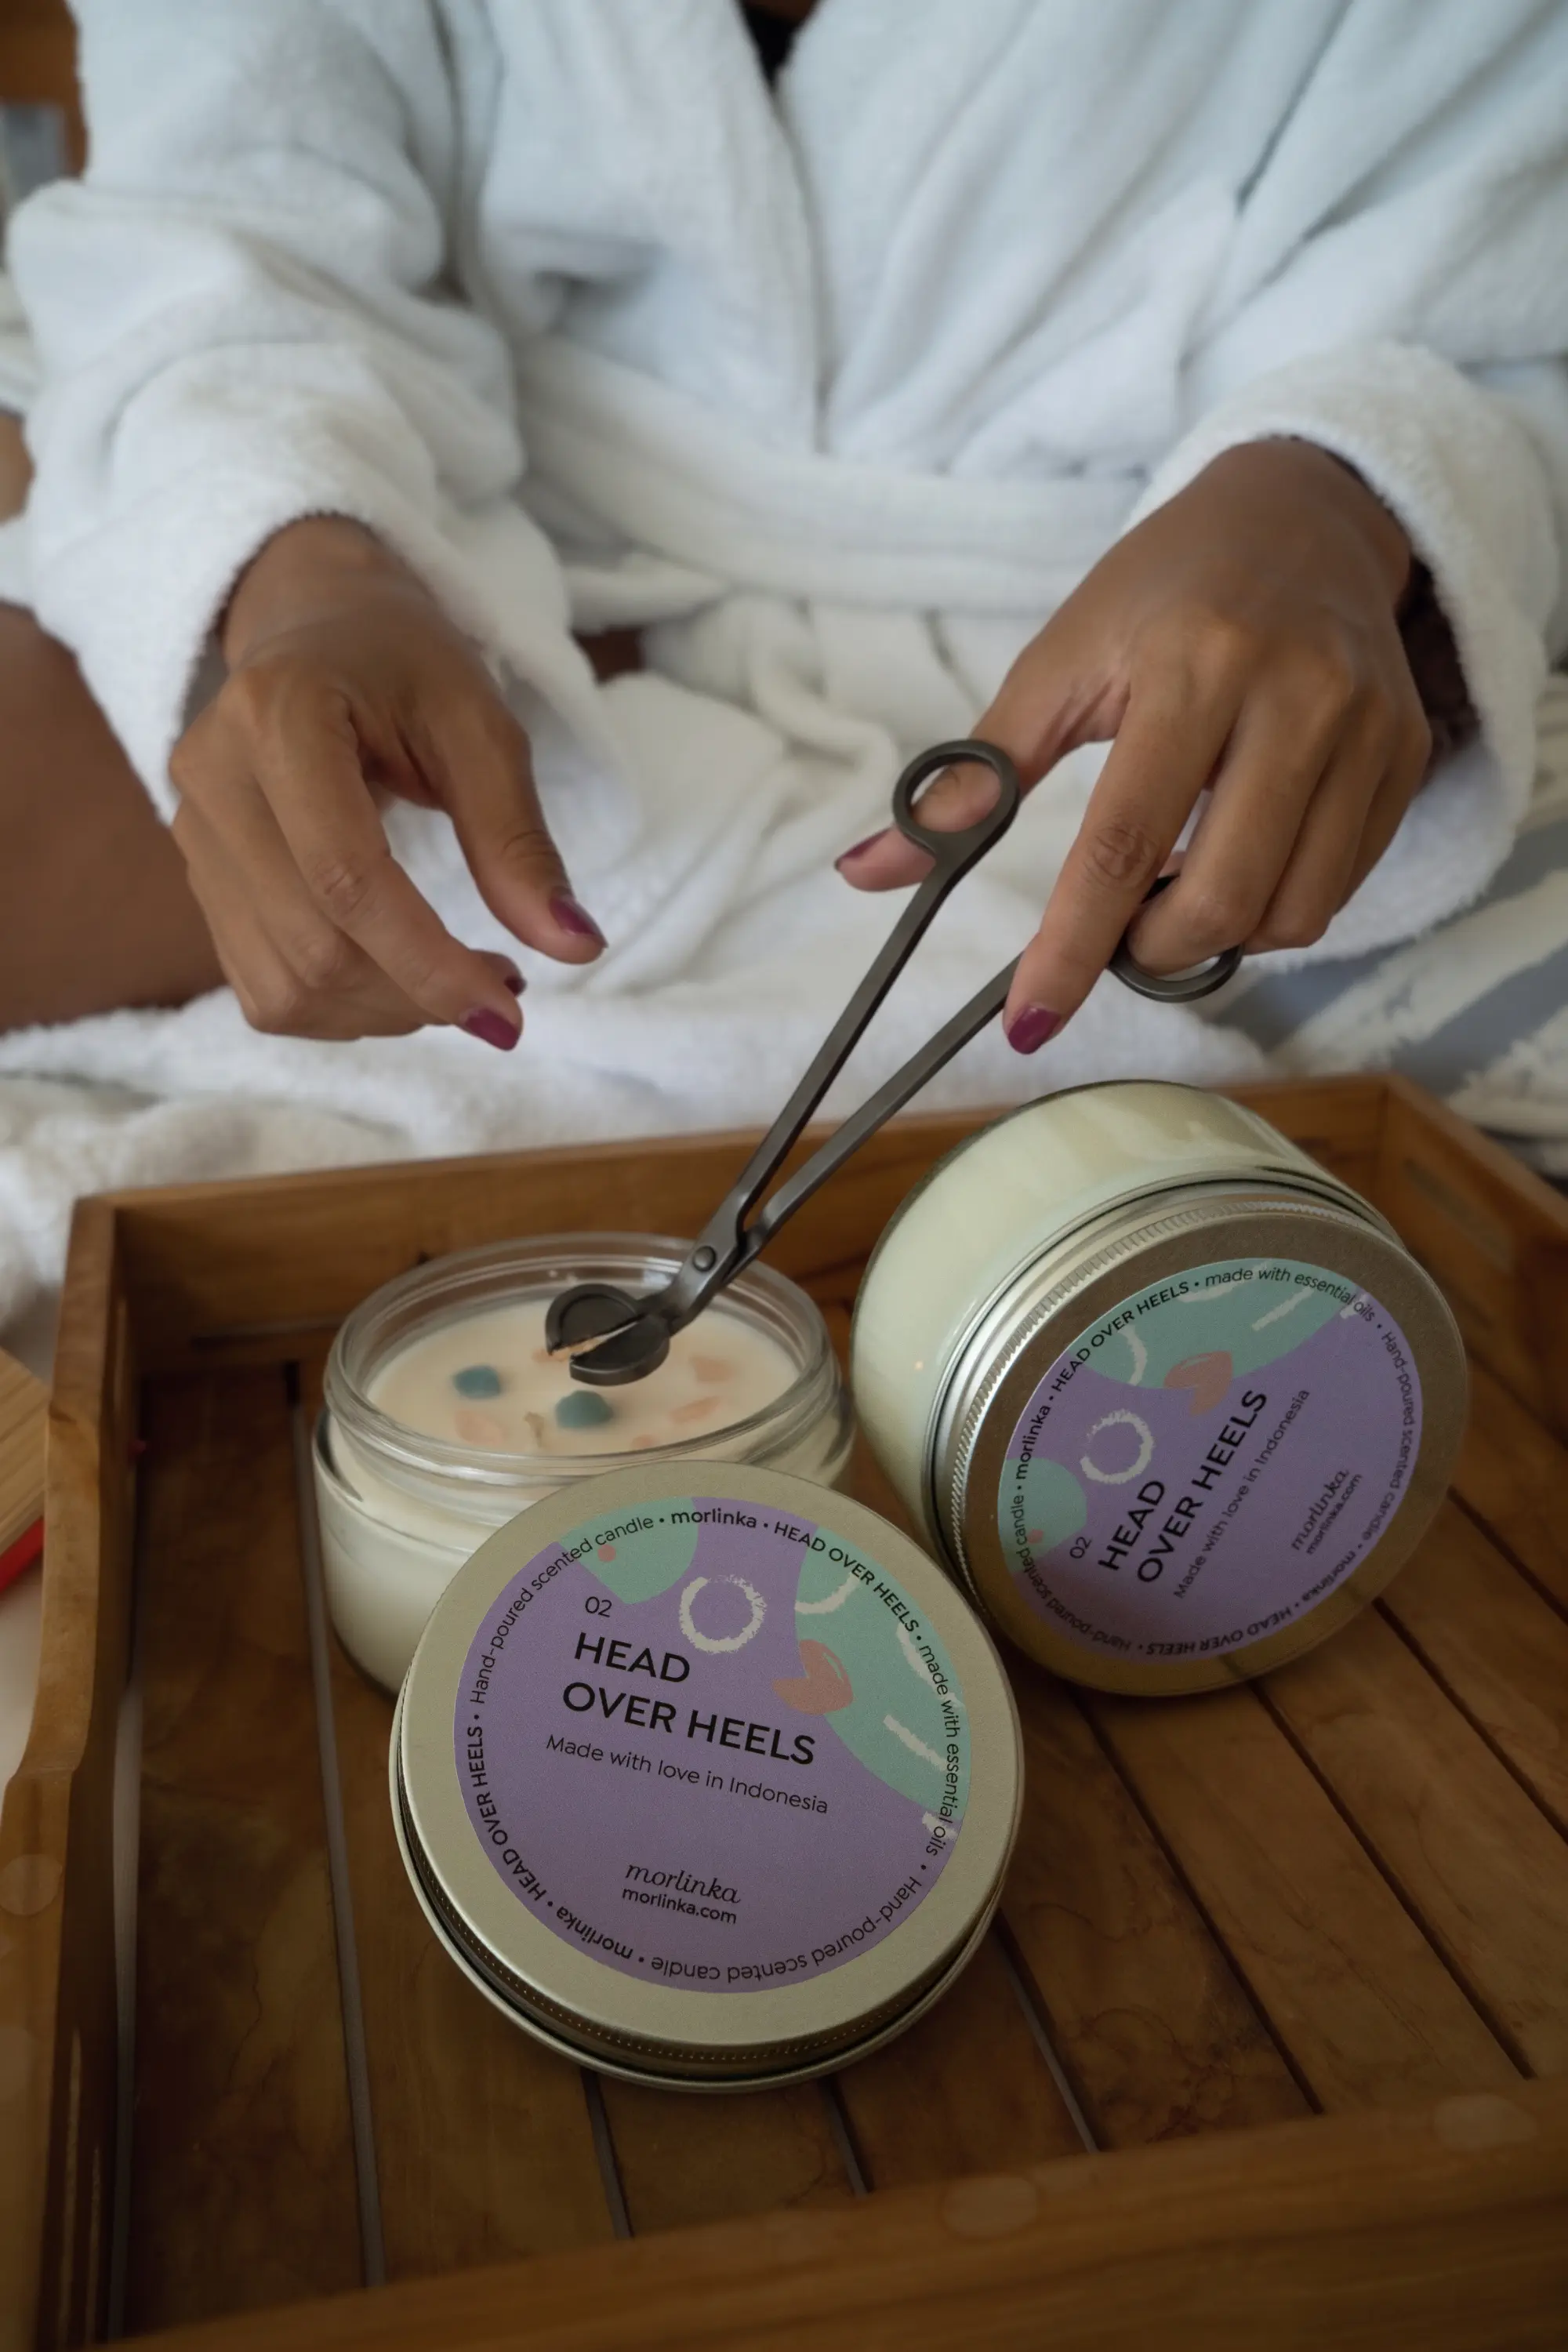
Wick Work
Trim the wick to about 0.5 centimeters before every burn to prevent flickering, excess smoke, and black soot stains on the jar. This technique also stops the wick from “mushrooming”, which can cause a wild, unstable flame and be dangerous.
Plain Clean
Remove debris, match heads, or dust from the wax pool to create a cleaner burn. Debris can turn into a secondary wick, which can cause a dangerous flare-up.
Place It Safely
Put the candle on a stable, heat-resistant surface, away from fans, windows, curtains, and other flammable materials.
While Burning
Learn the Burn
On the first burn, let the candle burn for 2 to 4 hours so the top layer of wax melts completely to the edges of the jar. This stops tunneling and makes the candle last longer.
Time the Burn
Limit burn time to 4 hours maximum. Burning it more than 4 hours can cause the jar to overheat and destabilise the wick, and lead to an unstable, smoking flame.
Keep an Eye
Never leave a burning candle unattended and always keep it out of reach of children and pets.
When Extinguishing
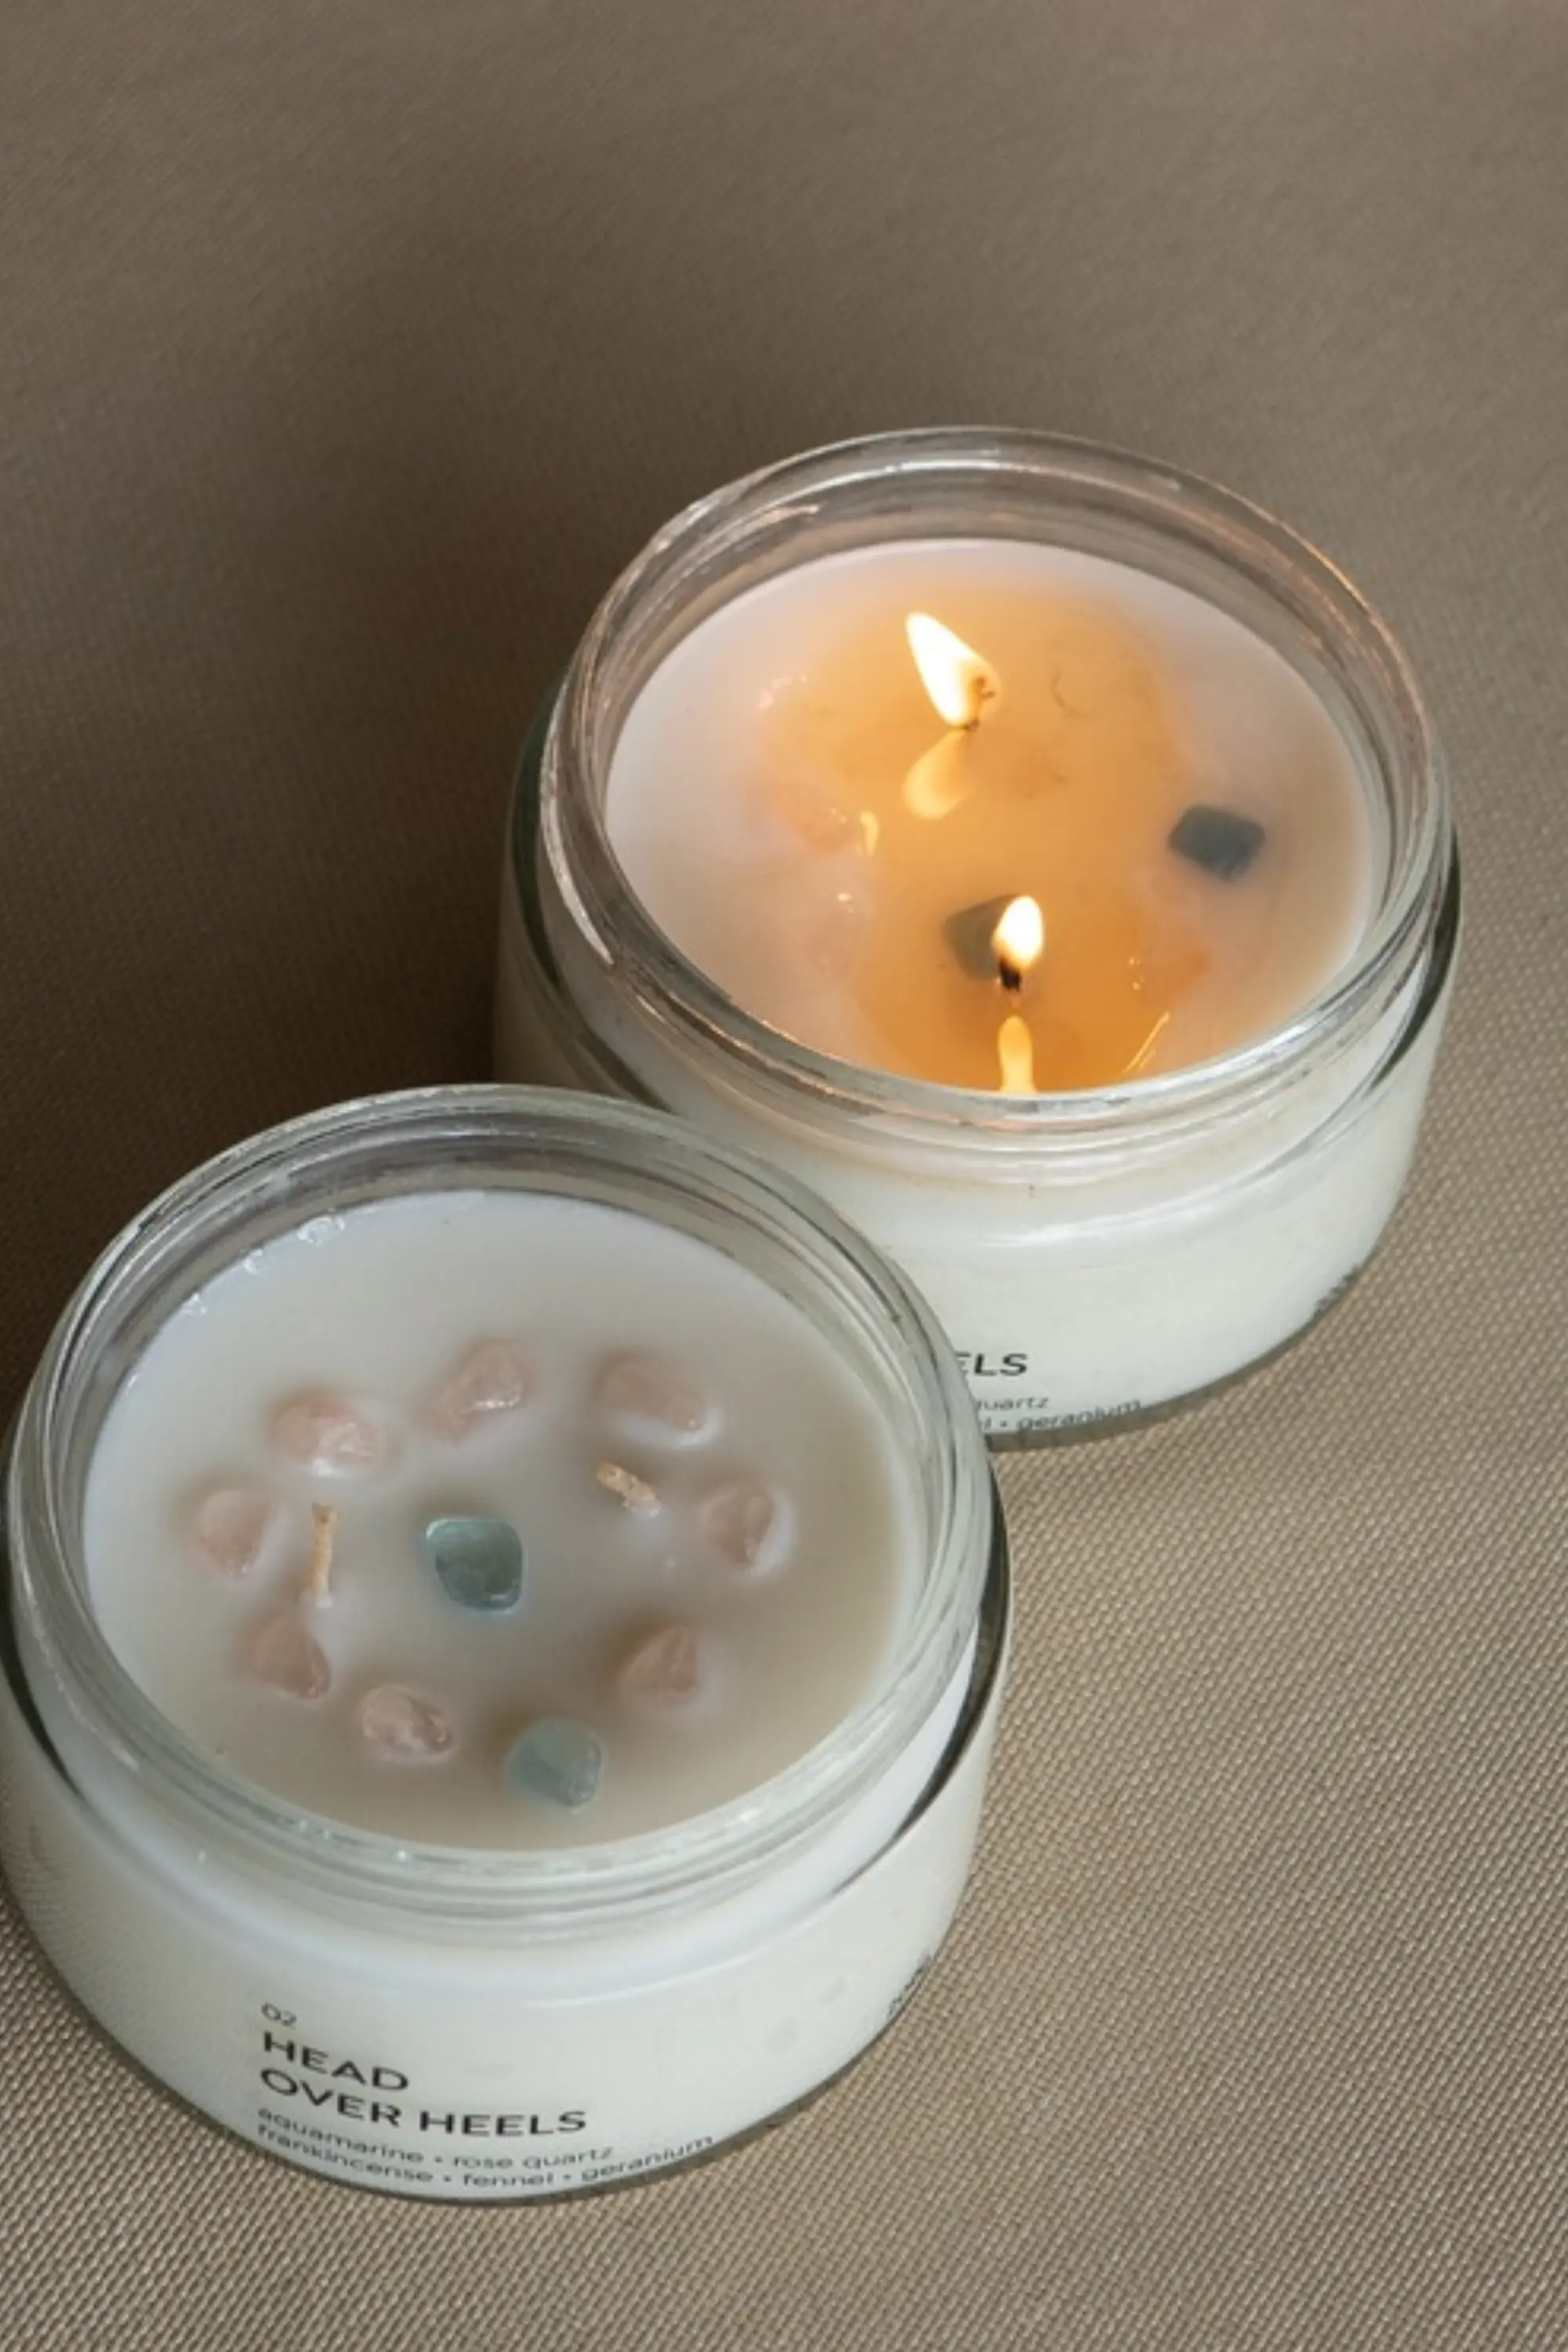
Save Your Breath
Instead of blowing out your candle, use a candle snuffer or a wick dipper to extinguish it. It eliminates smoke and stops hot wax from splattering.
Wick-edly Centered
Nudge the wick back to center while the wax is still warm and liquid to prevent tunneling for your next burn.
The Aftercare
Let It Cool
Before moving the candle jar for storage, let the wax cool down and turn back into solid again.
Put a Lid on It
Always store your candle with the lid on to protect the wax from dust or pet hair and lock in the aromatic scent so it does not evaporate over time.
Time for a Goodbye - Stop burning the candle when there is only about 1 cm of wax remaining at the bottom of the jar. Letting it burn to the very end can cause the jar to overheat, crack the glass jar, or leave burn marks on the surface underneath.



From the love of sustainability to the playful scent of serenity, Morlinka elevates your mood through handcrafted self-care treasures.